 For almost a year, my SO's bugged me to knit matching couch blankets using yarns he picked. A year after we ordered the yarn for them (so we could get enough of the same dye lot), the first one is done.
Even though I consulted extensively with him before and during its production, he still thinks it's about 18" too short and 5" too narrow. So we don't have enough yarn for the second one, even if it's exactly the same size as the first one.
I've been casually calling it the "Hate Blanket". For some reason, this seems to upset him.
More on the second one when I can gird my loins enough to tackle it. I'm sure that whatever I do, it won't be right. There will be no third matching couch blanket.
The one thing these blankets have going for them is that they're considerably reducing the amount of yarn I have waiting to be made into stuff. I'm not claiming these for my Stash Zero initiative since the yarn was specially purchased for this purpose, but I'm glad to see less yarn in my yarn-storage disaster area.
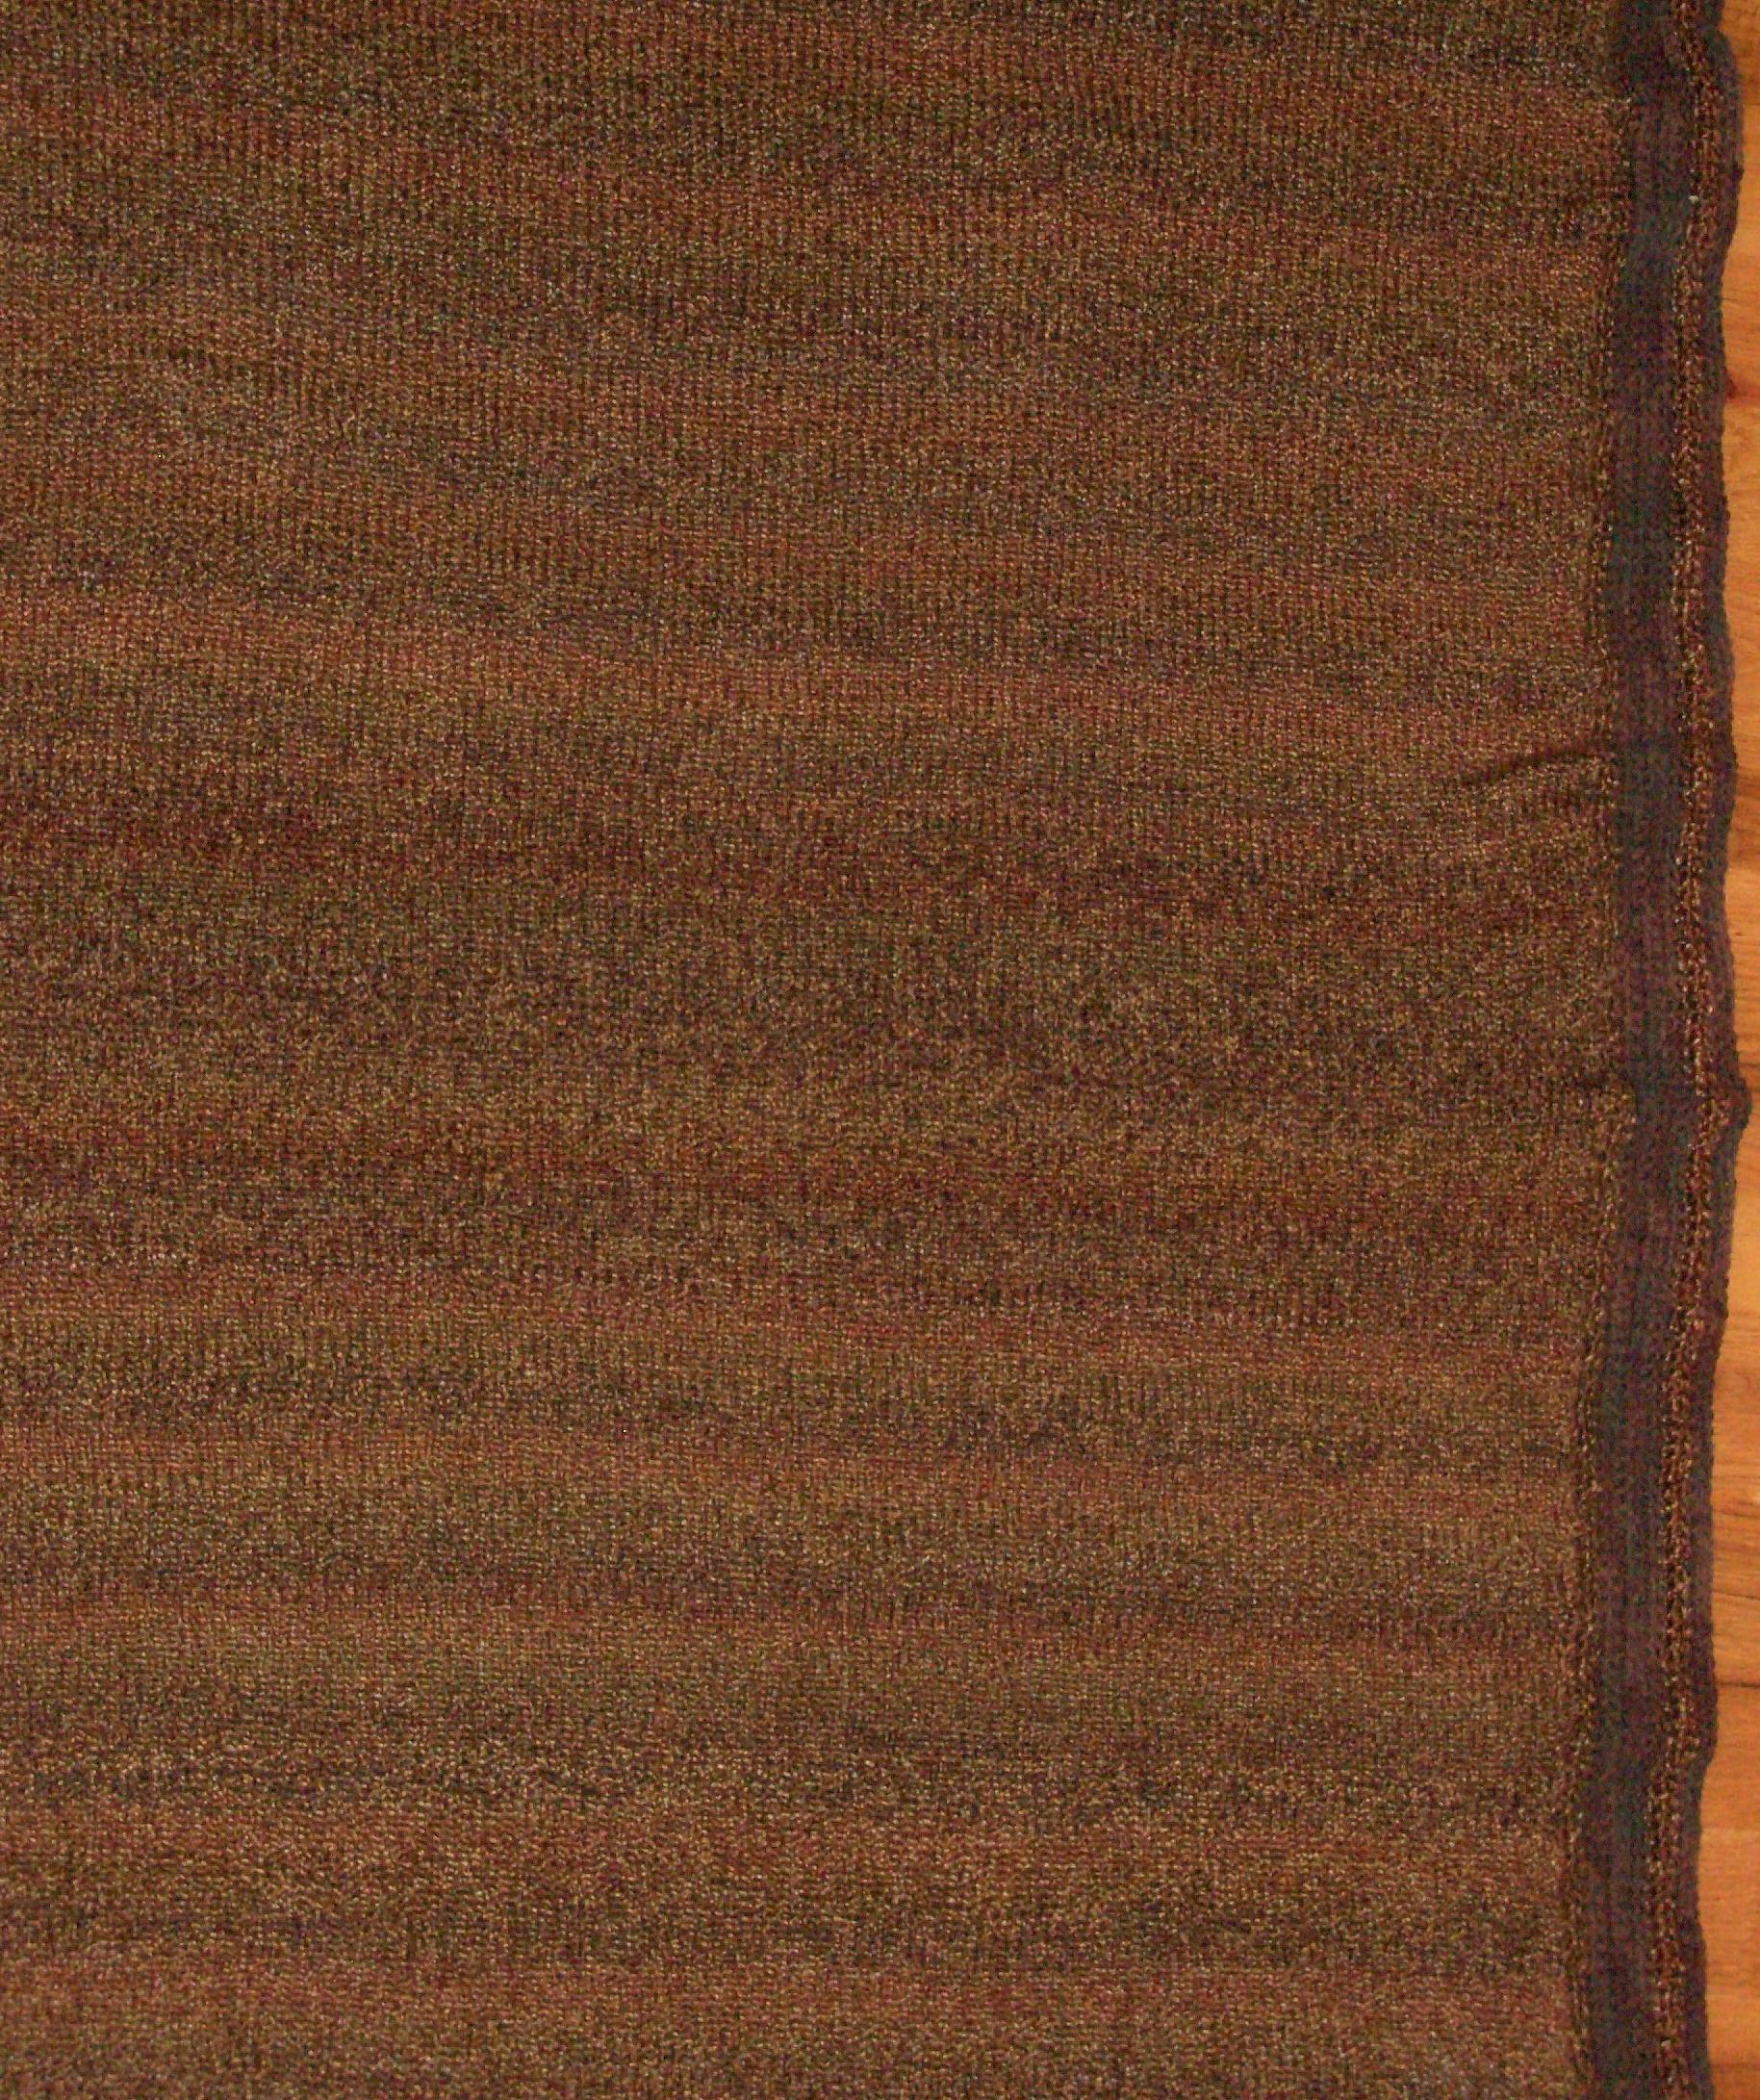
Okay, I do like the way the yarn banded in the body of the blanket. I should have straightened it out more before I took the picture, but see above re: Hate Blanket. Besides, I'll have another chance to take a good picture when I finish the (sigh) second one.
The 100-needle bed that comes with the knitting machine is good for baby blankets, but not much more. Over the years, I've added two Ultimate Sweater Machines (USMs) and a couple of extension beds (mostly for the spare needles) to my original Incredible Sweater Machine (ISM). For this project, I use two USM beds joined together, filled in with spare needles where they meet, but it's much longer than I need. You could do this project with an USM and 2 20-needle extension beds.
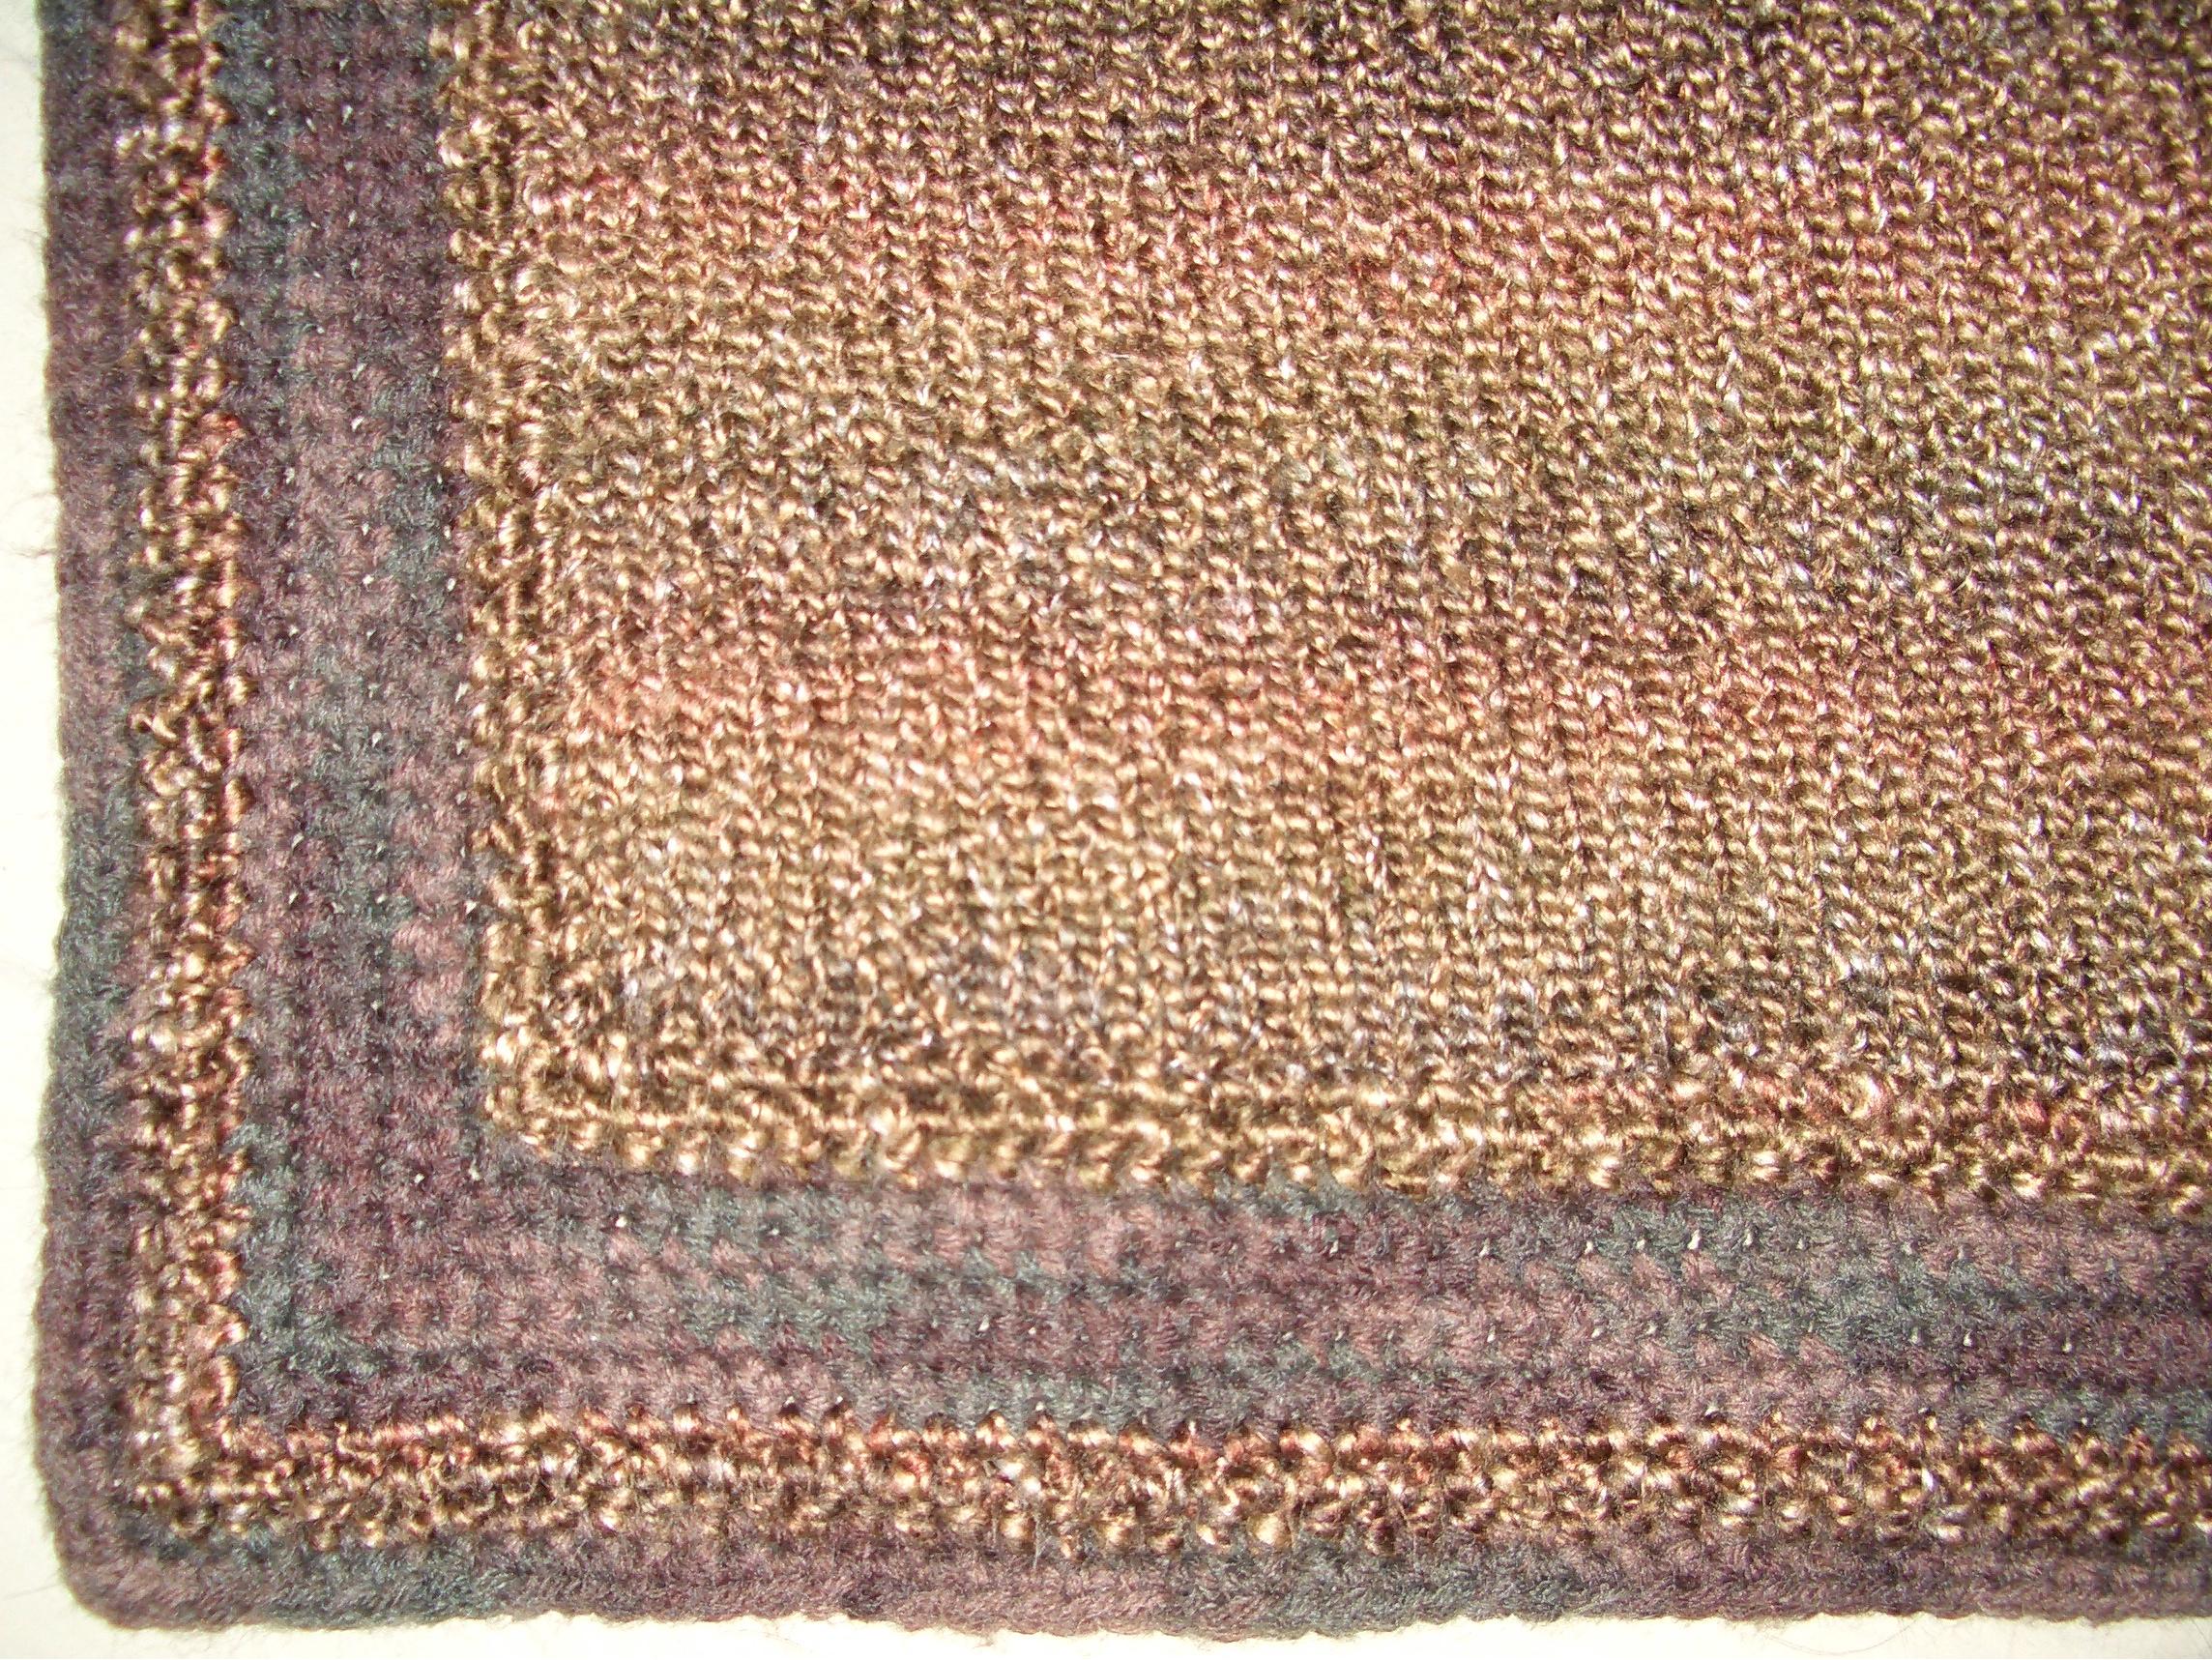
The Hate Blanket measures 40" by 64", including the 3" crocheted border. Knitting the body of the blanket on the machine took me the better part of a day, most of it spent unknotting snarls on the needles. This kind of yarn is a little too loopy and fluffy to get consistent machine-knitting results with it. The border took about five evenings to crochet.
Materials:
7 - 6 oz (170 g) skeins of Lion Brand Homespun yarn in Barley (381) -- Yarn A
3 - 2 1/2 oz (70 g) skeins of Lion Brand Wool-Ease in Wood (232) -- Yarn B
Incredible/Ultimate Sweater Machine (I/USM) with a 140-needle bed
I/USM accessories (weighted hem, carriage, optional row counter, etc.)
size K (6.5 mm) crochet hook
blunt yarn needle
stitch markers (optional)
Body:
- Set up your I/USM according to its directions.
- Cast on to 140 needles with Yarn A using your preferred method--don't forget the weighted hem. (I use the closed loop method.)
- Knit even using six skeins of Yarn A. You'll get about 58-64 rows per skein. Make sure to leave enough free yarn at the beginning and end of each skein to weave in securely later.
- Cast off using your preferred method. (I used the yarn needle and the x method.)
- Weave in all ends. (You can hide some of the ends by crocheting the border over them.)
With the crochet hook, join Yarn A to the edge of the knitted body.
Round 1 (rs): On long sides, 3 sc into every 4 knitted rows. On short sides, sc into every stitch. 3 sc into each corner. (Optional: put marker between first and second stitch of corner.) Join with sl st. Turn.
Round 2 (ws): Crochet around edge, as in Round 1. Join with a sl st, using Yarn B. Turn.
Round 3-7: Crochet around edge, as in Round 1.
Round 8 (ws). Crochet around edge, as in Round 1. Join with sl st, using Yarn A. Turn.
Round 9-10: Crochet around edge, as in Round 1.
Round 11 (rs): Crochet around edge, as in Round 1. Join with sl st, using Yarn A. Don't turn.
Round 12 (rs): Crochet around edge, as in Round 1. Don't turn.
Round 13 (rs): Crochet around edge, as in Round 1. Bind off and weave in all ends.
The pattern above results in an edge which is 2 rows A, 6 rows B, 3 rows A, 2 rows B.
Alternatively, you could do 2 rows A, 6 rows B, 4 rows A, 3 rows B. This would eliminate the double right side rows, but all rows using the new yarn will start on the right side for pretty joins. It'll result in a slightly thicker edge. I plan to do it this way on the next blanket like this I make.
The free pattern above is for your personal use only.
Leave a comment